Step-by-Step Guide to Converting Designs for Brother Embroidery Use
- February 26, 2026
Turning a photo into an embroidery file can feel hard at first. I remember the first time I tried it. I thought I could just click one button and stitch. That did not work. The design came out messy. Threads crossed over. Colors looked wrong.Over time, I learned the right steps. I tested tools. I made mistakes. I fixed them. Now I understand how to Convert Image to JEF File the right way.
In this guide, I will share simple steps. I will use easy words. You will learn what works and what to avoid.This guide is for beginners. It is also for hobby users. If you use a Janome machine, this is for you. Let’s start from the basics.
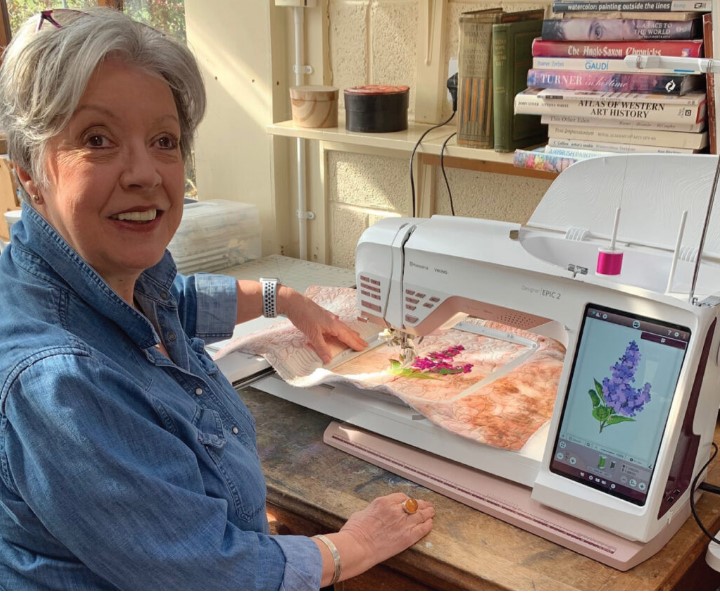
A JEF file is a stitch file. It works with Janome embroidery machines. The file tells the machine what to do.
It stores:
Stitch type
Stitch path
Thread color
Design size
Hoop size
It does not store a normal picture like JPG or PNG. It stores stitch data. That is why you cannot just rename a photo to .jef. It will not work.
A photo is made of pixels. A stitch file is made of paths. These are not the same.
A machine needs clear stitch lines. It needs to know:
Where to start
Where to stop
Where to change color
How dense the stitches should be
A photo does not give this data. So you must digitize it first.
Digitizing means turning an image into stitch data. You choose how the thread will move. You set stitch types. You control density.
It is not just “auto convert.” Good digitizing takes care and planning.
There are two main ways:
The software does most of the work.
It is fast.
But it may not be perfect.
You draw stitch paths by hand.
It takes more time.
But the result is clean and pro.
From my own work, I can say this: auto tools are good for simple art. For faces or small text, manual edits are a must.
Before you start, make sure you have the right tools.
You need software that supports JEF export. Some well-known types include:
Janome Digitizer
Wilcom
Hatch
Embrilliance
Make sure the software can save or export in JEF format.
Your image should be:
High quality
Not blurry
Simple in color
Clear in shape
Simple art works best. Cartoons and logos are great for beginners.
Check your model. Make sure it reads JEF files. Also check hoop size limits.
Now let’s break it down into easy steps.
Do not start with a hard photo. Avoid too many colors. Avoid small details.
Good choice:
Logo
Simple flower
Cartoon shape
Bad choice:
Group photo
Nature scene
Small text
Clean art gives clean stitches.
Before you import the image, clean it.
You can:
Remove the background
Increase contrast
Reduce colors
Make edges sharp
You can use simple image edit tools for this step.
The cleaner the image, the better the stitch result.
Open your embroidery software.
Import the image.
Resize it to match your hoop.
Do not stretch too much.
Keep the shape correct.
Now choose stitch types.
Common stitch types:
Good for:
Letters
Borders
Small shapes
Good for:
Large areas
Solid shapes
Good for:
Fine lines
Detail
Pick the right stitch for each part. This step is very important.
Density means how close the stitches are.
If too dense:
Fabric may pucker
Thread may break
If too light:
Gaps will show
Test small samples if you can. I always run a test stitch on scrap fabric. This saves time and thread later.
Match thread colors to your design.
Keep in mind:
Screens show color in light
Thread shows color in real life
They may look a bit different. Always check your thread chart.
Look at the stitch order.
Good path:
Fewer jumps
Clean flow
Smart color change order
Bad path:
Many trims
Long jumps
Messy layers
Most software shows stitch simulation. Watch it. Fix problems before export.
When all looks good, export the file.
Choose JEF format.
Save it.
Transfer it to your machine using USB or direct cable.
Now you are ready to stitch.
Never skip testing.
Use:
The same fabric type
The same stabilizer
The same hoop
Run the design once. Check for:
Thread breaks
Loose stitches
Puckering
Wrong alignment
Make changes if needed. Even pro digitizers test every design.
I made these mistakes when I started. You can avoid them.
Blurry images give bad stitch paths.
Small parts may not stitch well. Simplify the art.
Thick fabric and thin fabric act in different ways. Adjust density as needed.
Underlay stitches support top stitches. Without them, design may sink into fabric.
I have worked on logos, gifts, and custom art. Here are tips that helped me:
Always simplify art before digitizing.
Do not trust auto tools 100%.
Use proper stabilizer.
Slow down machine speed for complex parts.
Keep designs within hoop limits.
Small changes make a big difference.
For a simple logo:
20 to 40 minutes
For a detailed design:
1 to 3 hours
At first, it may take longer. That is normal. Skill grows with practice.
Yes, beginners can do it. Start small.
Practice with:
One-color shapes
Simple text
Basic icons
Build skill step by step.
There are also online services that can help if a design feels too hard. But learning yourself gives more control.
JEF files have limits.
They depend on:
Machine model
Hoop size
Stitch count
Check your machine manual. Do not guess. This builds trust in your workflow.
Large stitch count means:
Longer stitch time
More thread use
Try to keep design clean and smart. Remove extra stitches. Clean paths reduce file size.
Good test fabrics:
Cotton
Denim
Canvas
Avoid stretch fabric at first. It moves too much.
Never ignore stabilizer.
Types include:
Good for stretch fabric.
Good for stable fabric.
Good for lace or light designs.
Pick the right one for best results.
Digitizing is both art and skill. You get better with practice.
Start simple.
Learn from each stitch out.
Fix errors.
Keep notes.
Over time, you will understand:
Stitch flow
Fabric pull
Thread tension
That is when your designs look clean and pro.
Sometimes a design is too complex. Like:
Real faces
3D puff designs
Tiny detailed logos
In such cases, a pro digitizer may help. This saves time and stress.
Making JEF files from photos is not magic. It is a process. Once you understand stitch logic, things get easier.
Keep your designs simple at first. Use clean images. Test before final stitch. Learn from each project.
With the right steps, tools, and care, you can turn your favorite images into beautiful embroidery designs. Take your time. Practice often. And enjoy the creative journey.
There are no reviews yet.